Battle Report: Army of the Western Reaches vs Sea Raiders
This was the 5th scenario in the Black Tide narrative campaign: Burn the Bridges.
The idea behind this one is that both armies are fighting in the
rushing water beneath the bridge, and the defenders are trying to
destroy the bridge to prevent the invaders from transporting their
armies across. The tape across the table marks the edges of the water -
everything between is rushing water. Not only are models in the water in
rough terrain - they all lose pathfinder. This means that the Orgoth
cavalry is at a distinct advantage, as they can fly, and the Skorne
cavalry is at a disadvantage, as they can now only reposition one inch.
The six objective markers represent six legs supporting the bridge.
The defender's goal is to destroy at least four of them. This is done by
placing charges - a trooper model base to base with a bridge support
can place a charge by taking an action while base to base with it and
rolling 2d6. A roll of 9 or higher places the charge. On a roll of 2,
the charge explodes immediately. Otherwise nothing happens and you've
got to try again. An armed charge will explode at the end of the
defender's next turn, giving models time to get clear, which is good
because when a charge explodes, the bridge leg is destroyed, and all
models within two inches are automatically destroyed. Once the defender
destroys four bridge legs, he wins. If he hasn't done so by the end of
his sixth turn, the invader wins.
I would also be using my
Siege Oliphaunt for the first time this game, which was exciting.
Skorne
- Supreme Archdomina Makeda
- Baslisk Krea
- Baslisk Krea
- Titan Sentry (Proxied by a Titan Cannoneer)
- Siege Oliphaunt
- Legends of Halaak
- Paingiver Beast Handlers
- Praetorian Ferox
- Praetorian Ferox
- Venator Catapult Crew
Orgoth
- Horruskh, The Thousand Wraths
- Jackal
- Tyrant
- Siege Tarask
- Rhok Harriers
- Rhok Harriers
- Ulkor Axers
- Ulkor Barragers
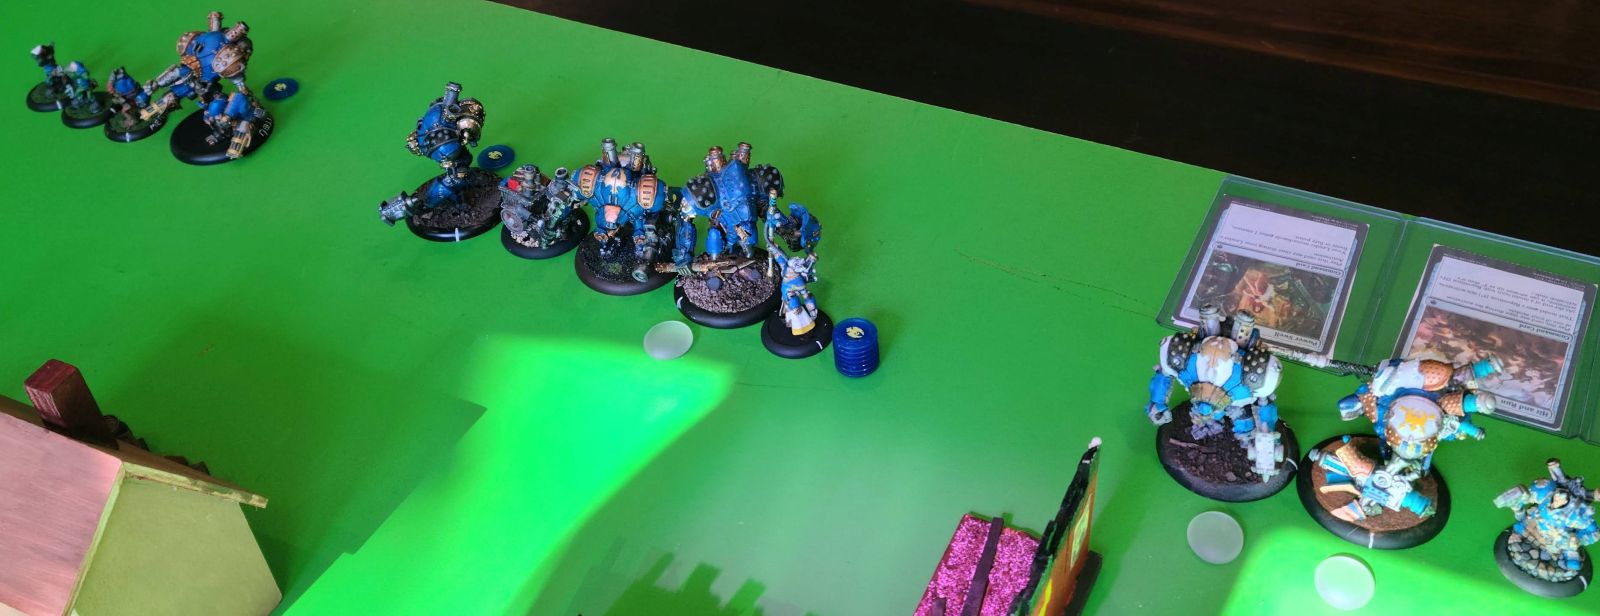
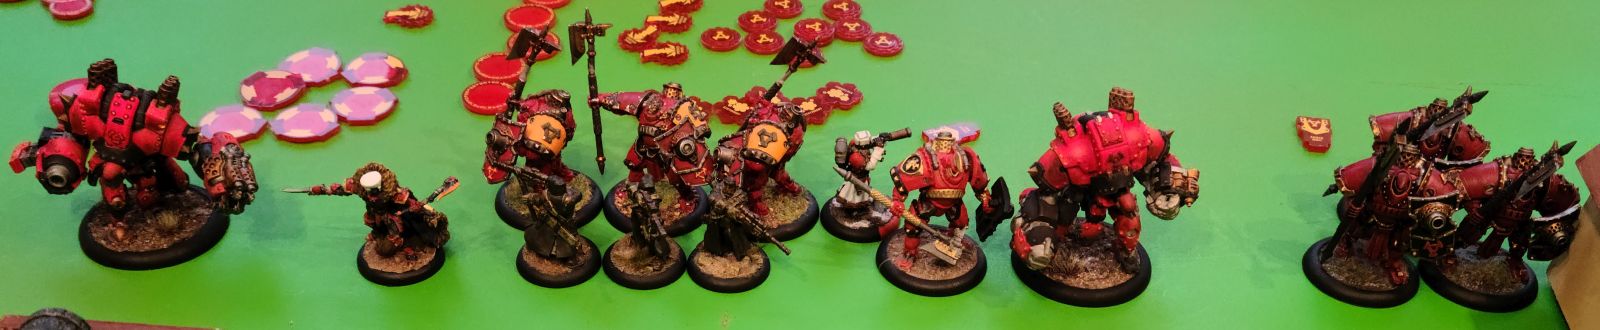
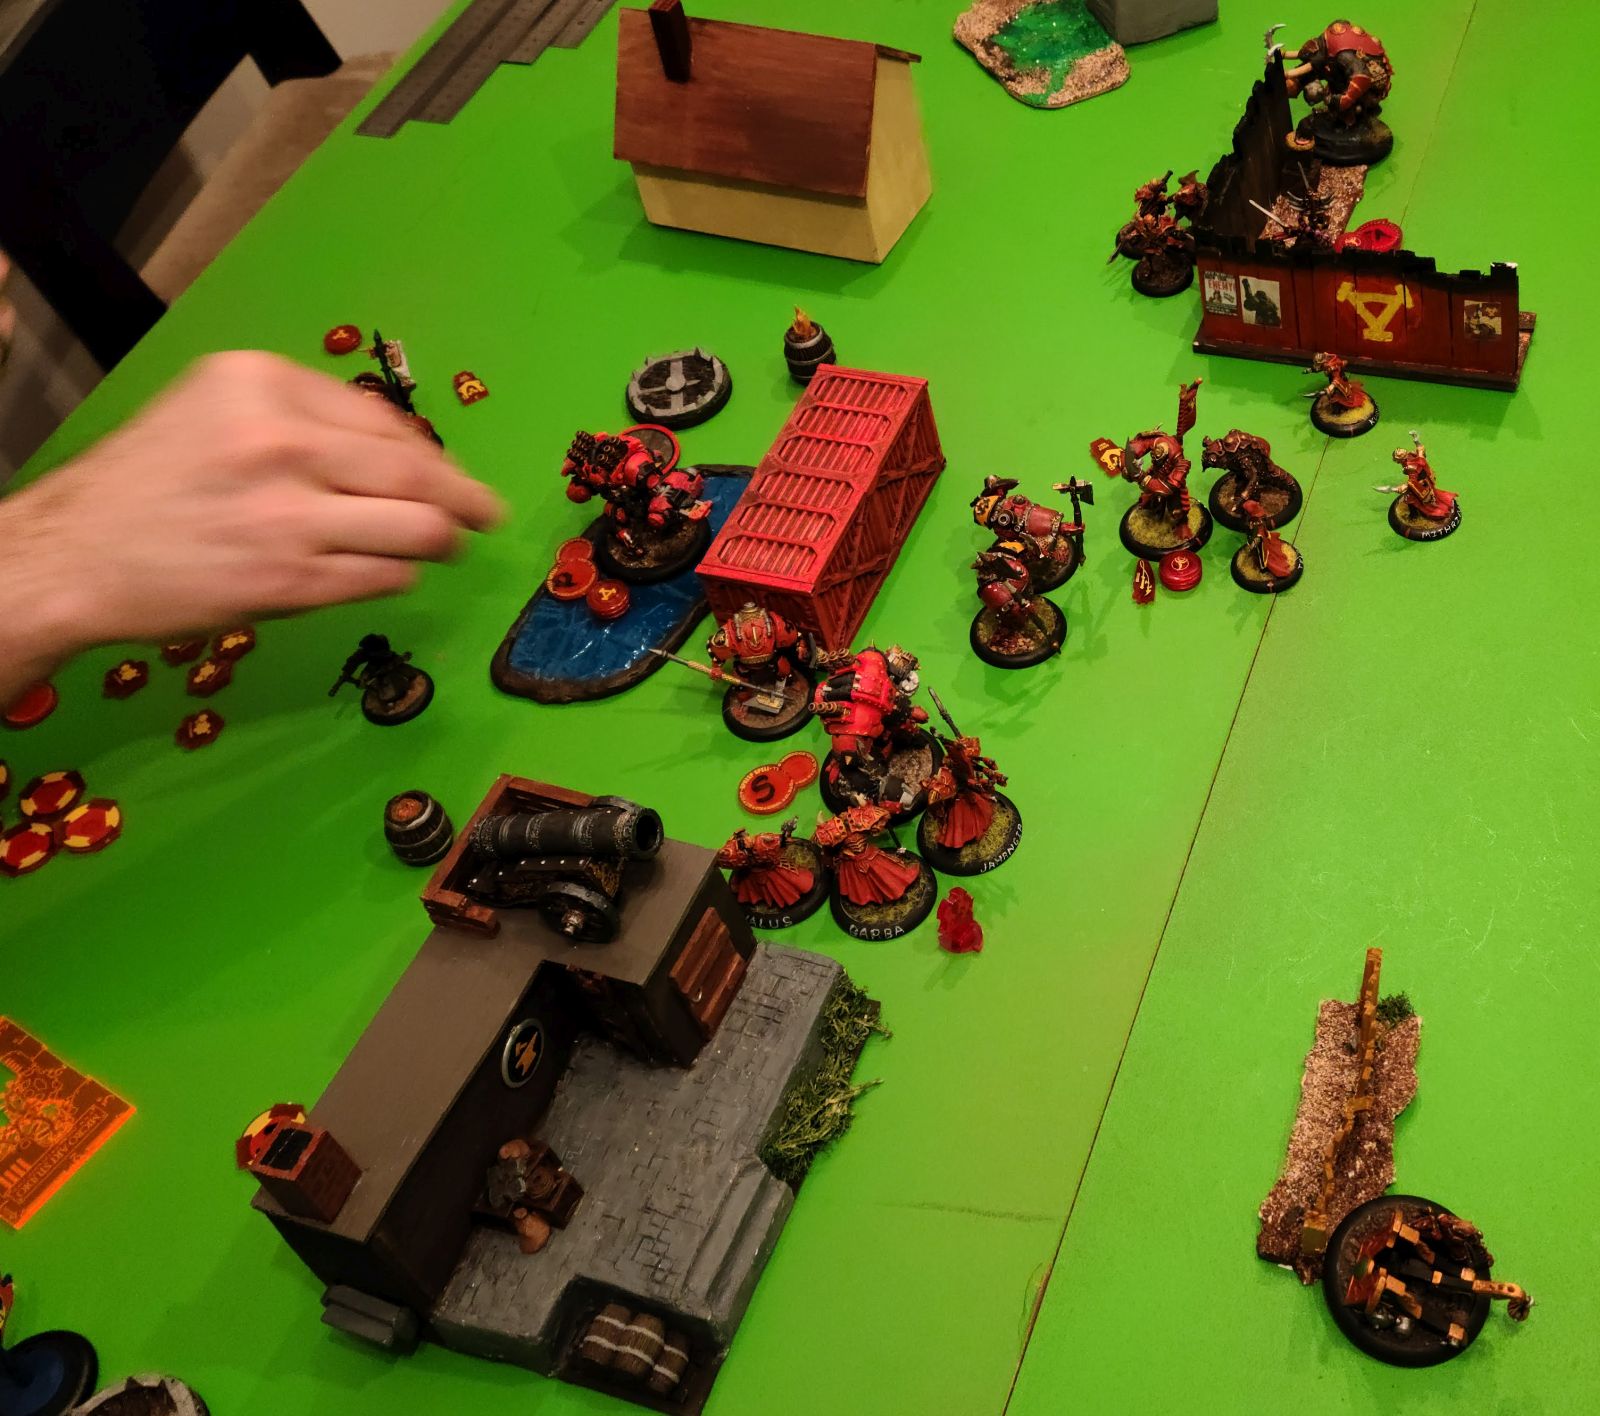
Deployment
Although each player is allowed to place 4 pieces of terrain, we
didn't want to be stupid by placing houses and forests in the river. So
one side got an underwater hill, and the other side got a pile of rocks
that would act as a wall. Underwater rubble on one side would also grant
cover.
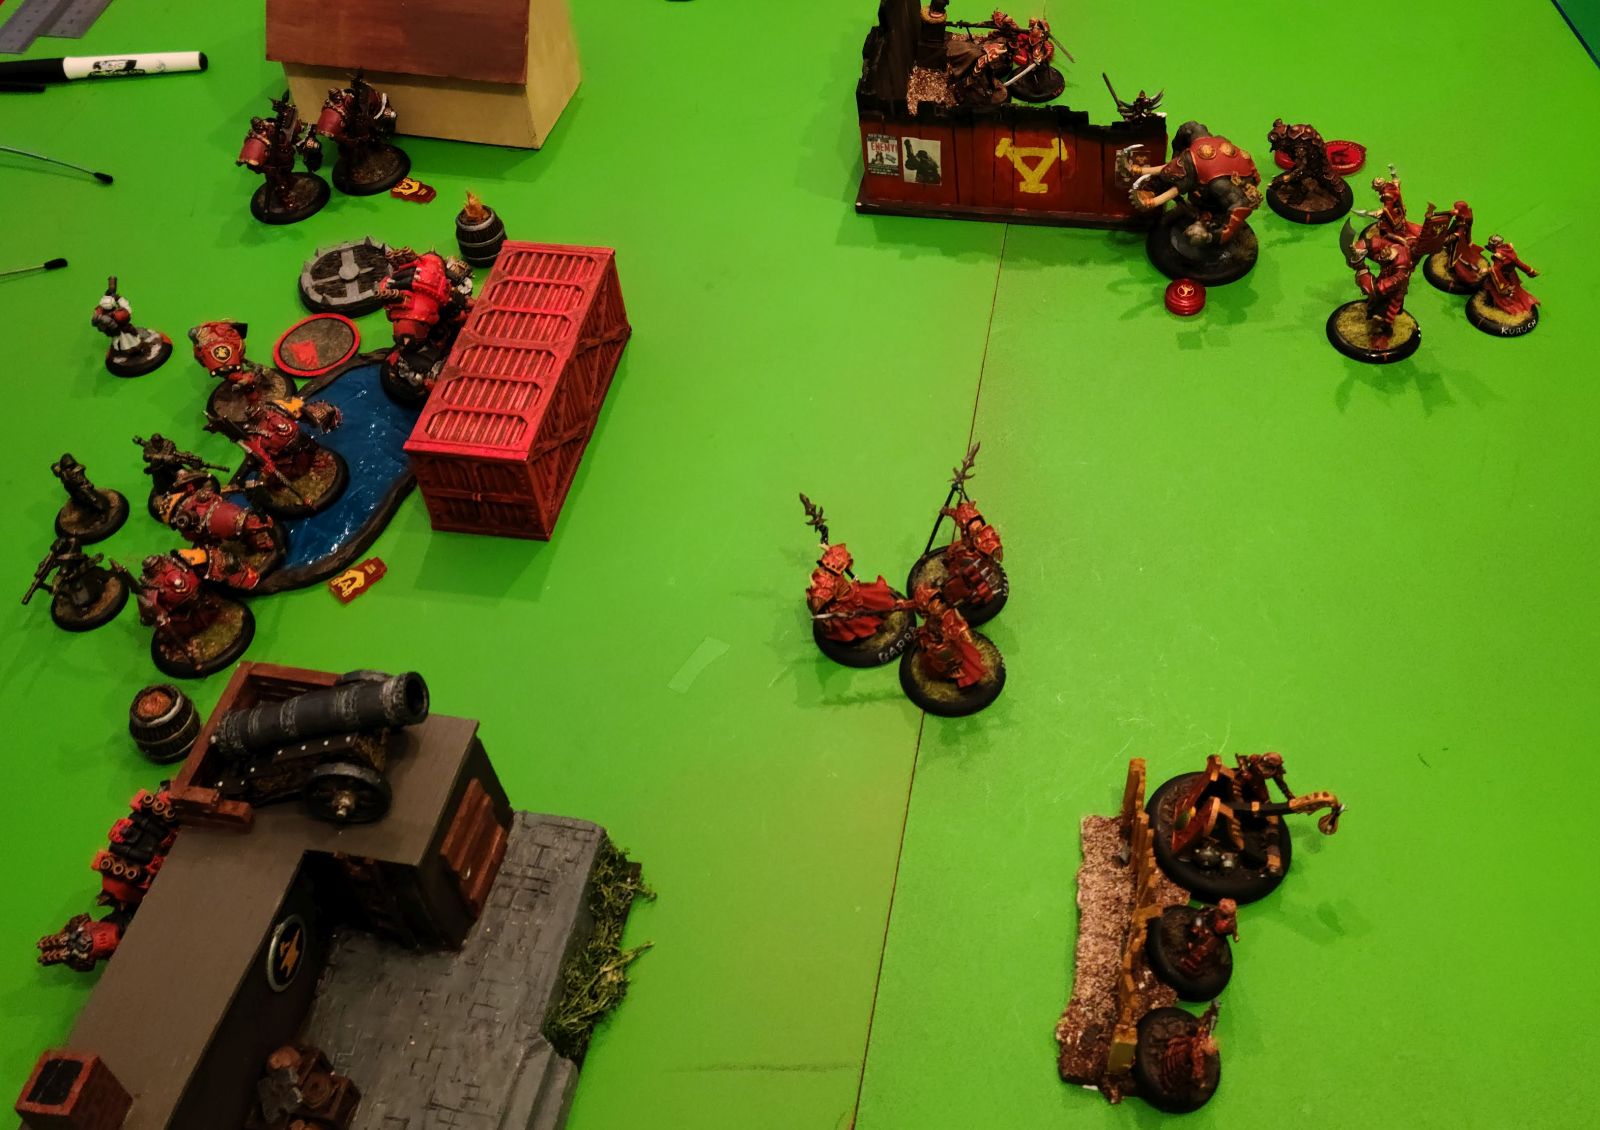
The Orgoth deploy to send six Rhok up one side of the board, and
Axers on the other. Horruskh aims for the hill. Skorne points a unit of
Ferox at each set of bridge legs, and aims the Oliphaunt straight up the
center.
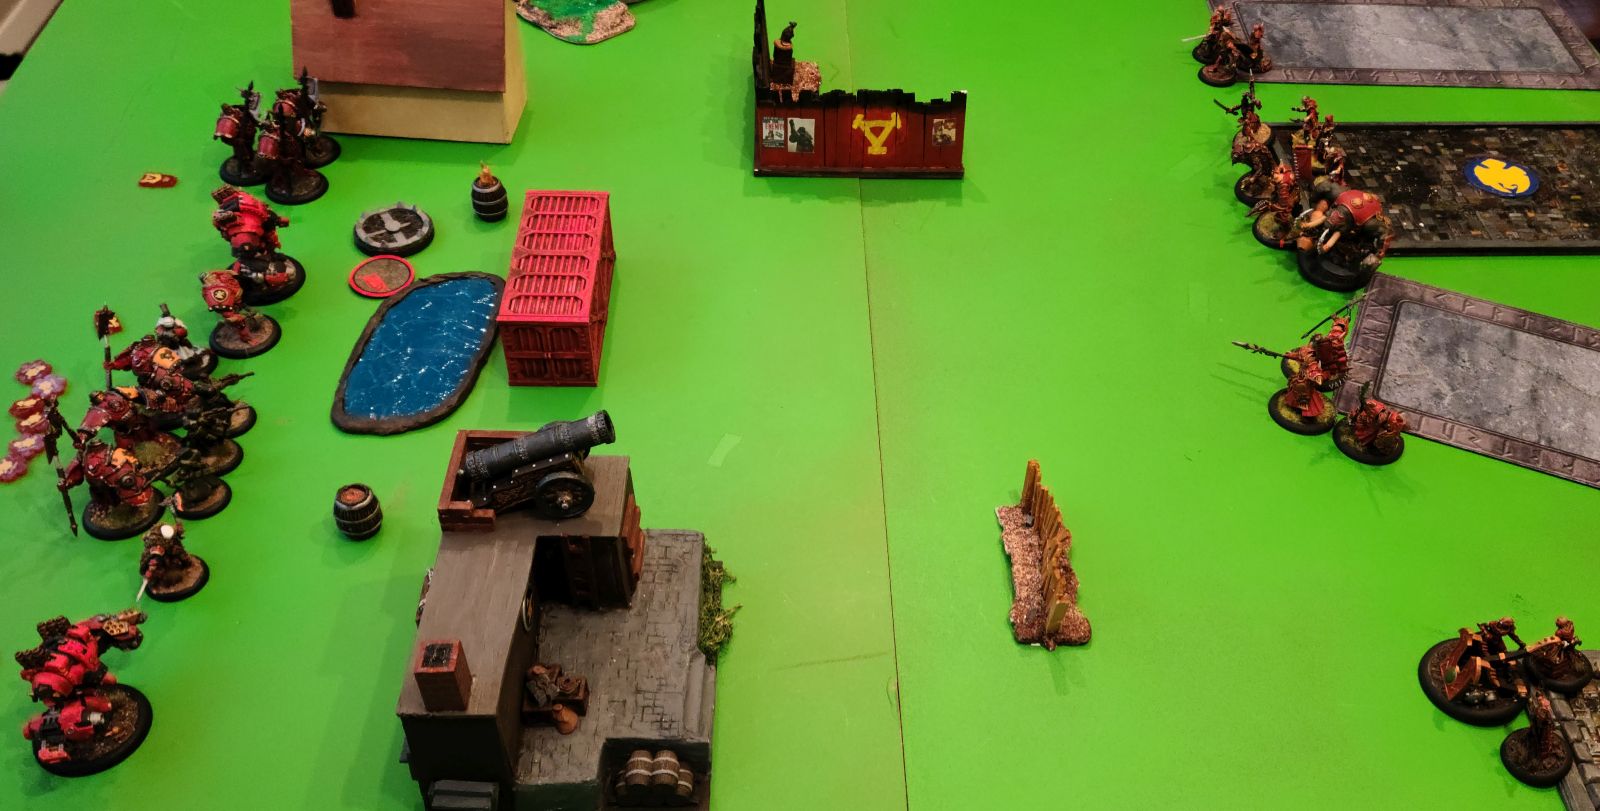
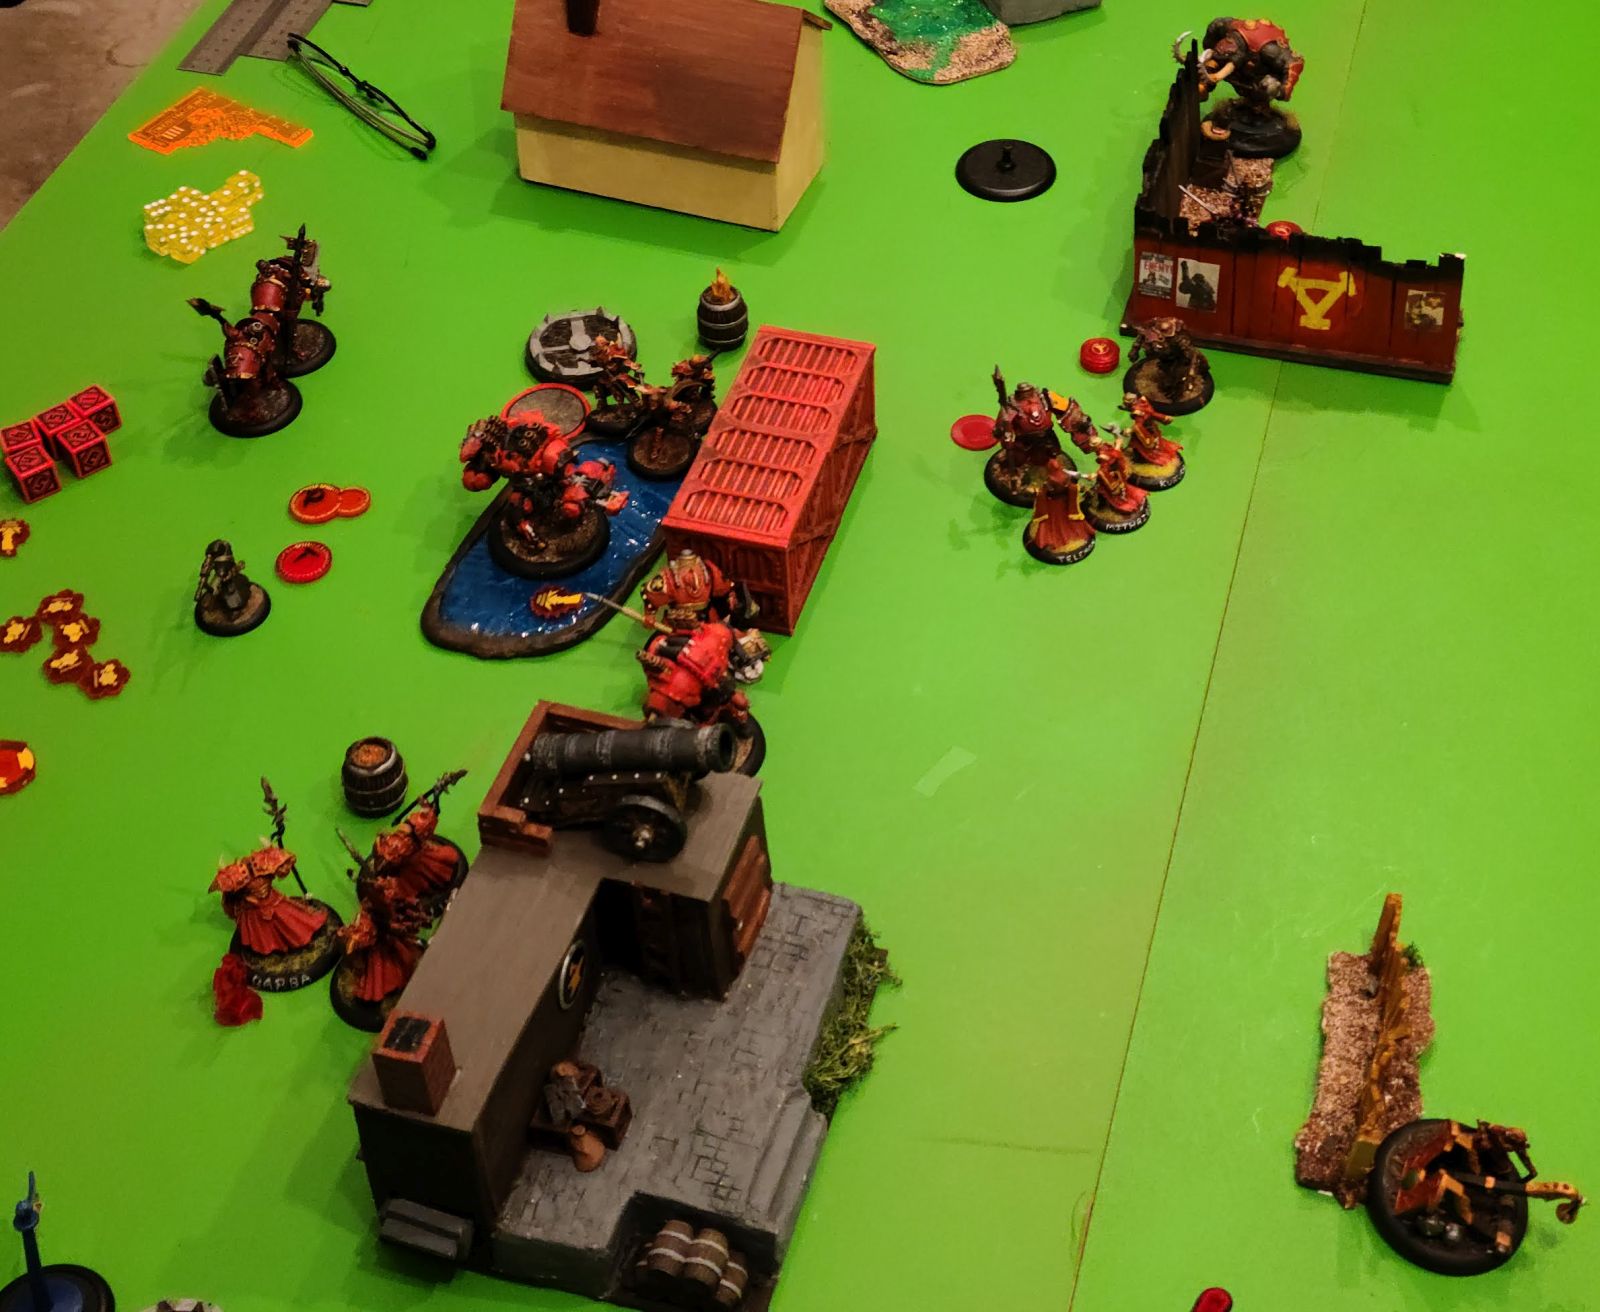
Skorne Turn 1
Skorne runs into the river, although the Ferox hold back a bit to
avoid being shot at on turn one. The flag falls off my Makeda model, and
we decided that she dropped it before heading into the river because
she didn't want her flag to get wet.
Orgoth Turn 1
Orgoth run up, the Axers getting Inviolable Resolve.
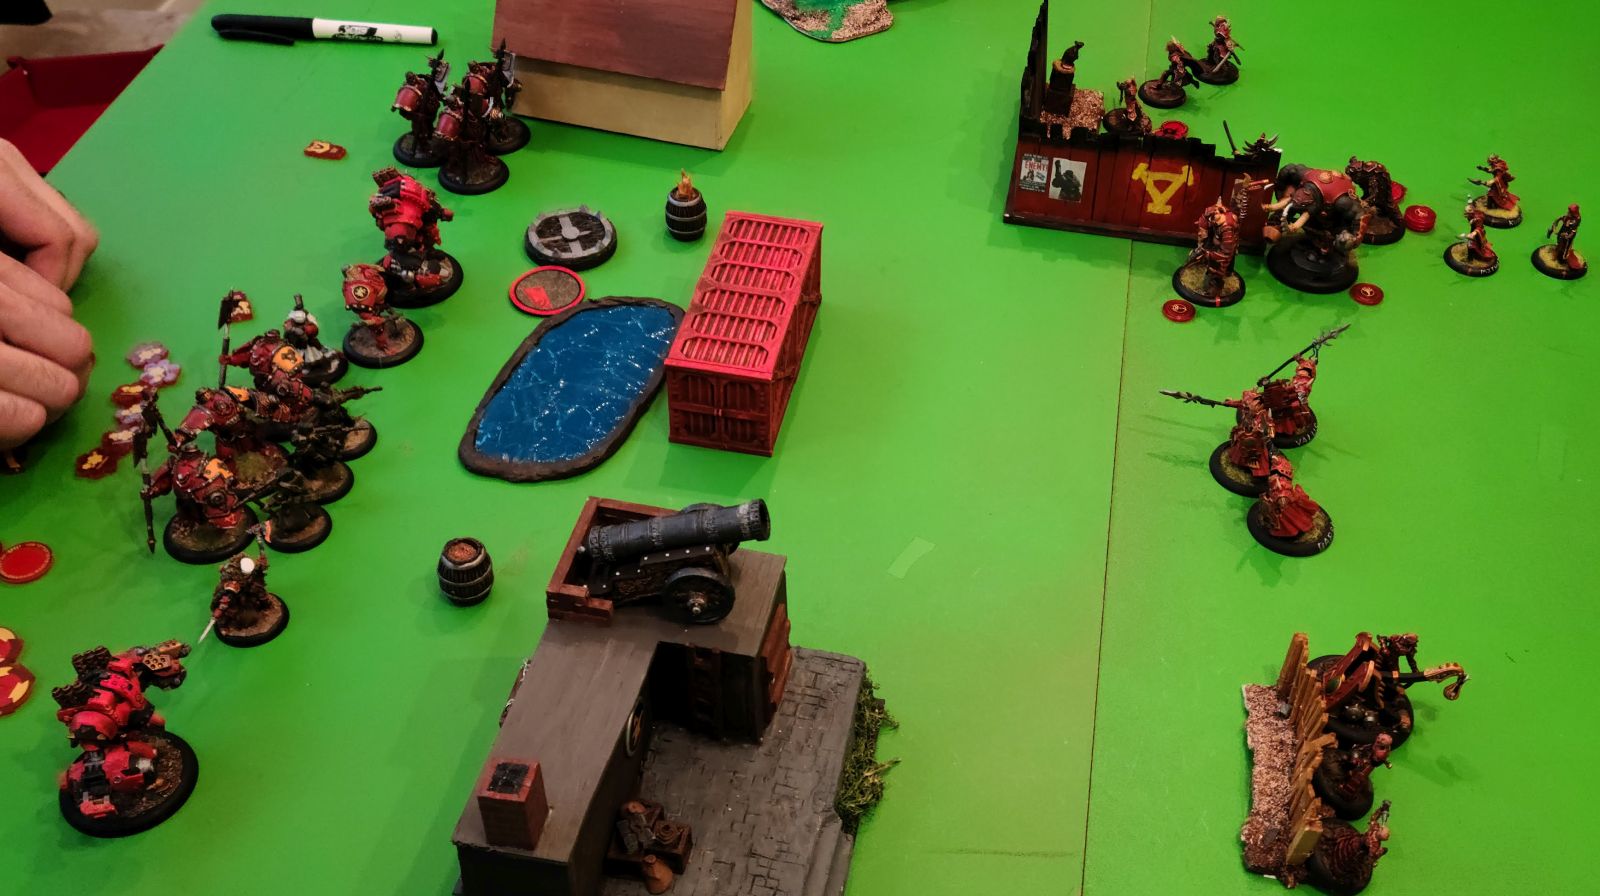
Skorne Turn 2
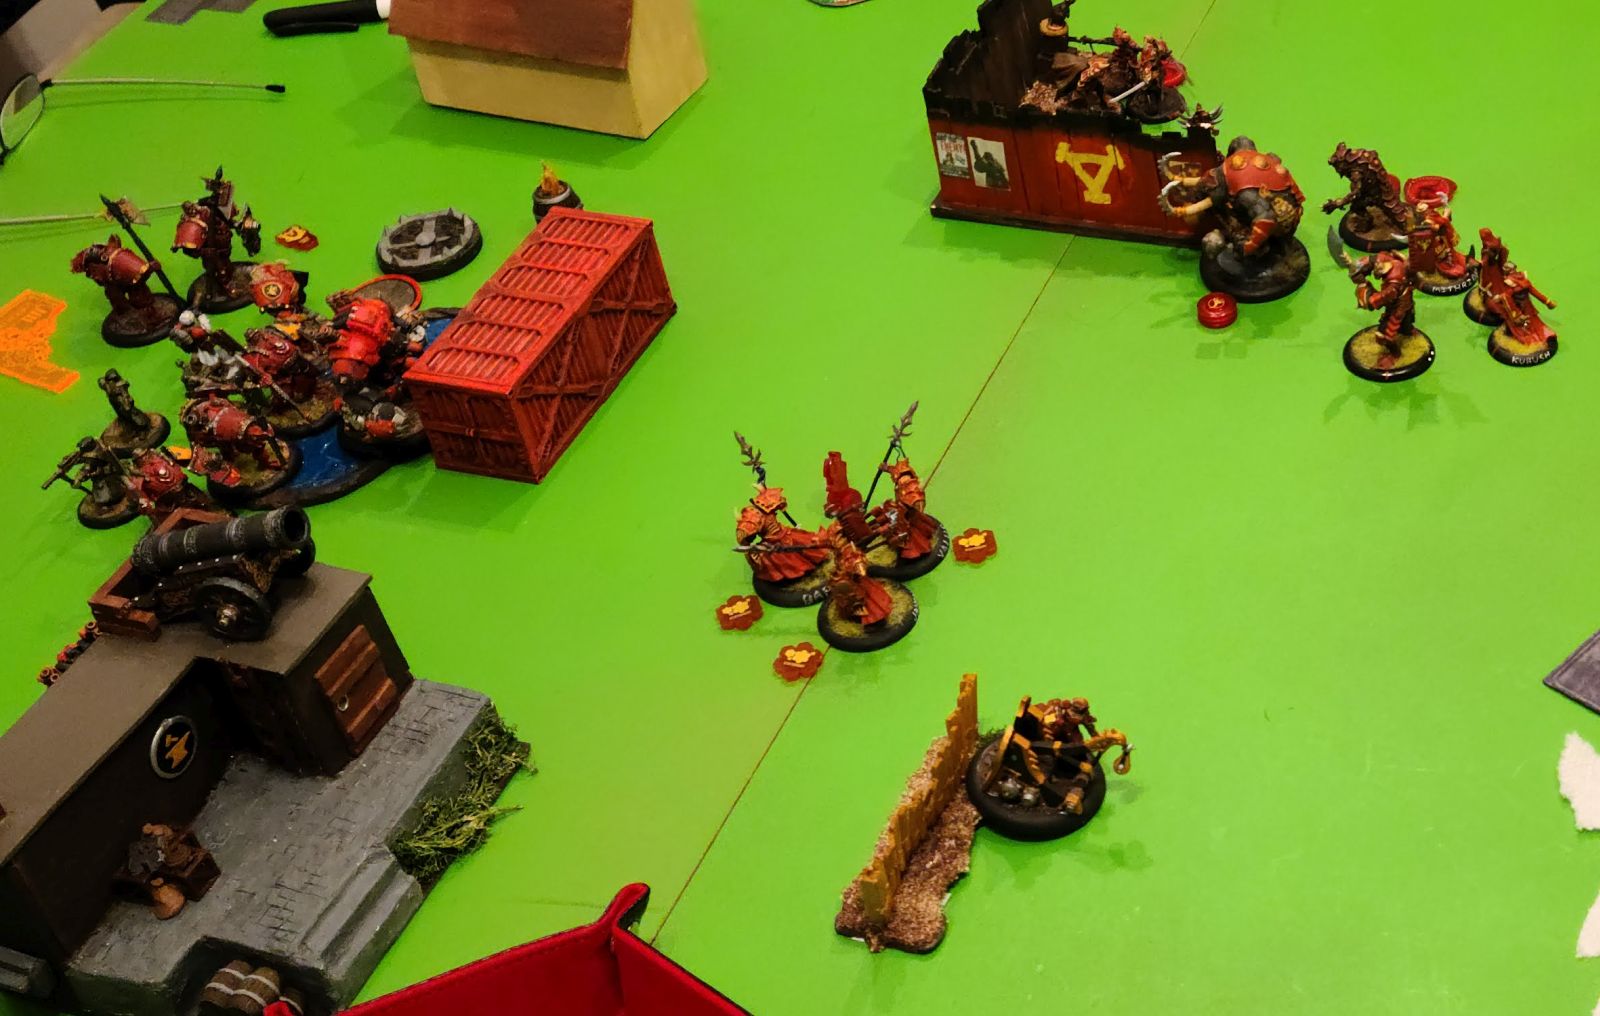
The oliphaunt unloads on the Tyrant, doing some damage, and the Tyrant moves forward because of hyper-agressive.
The Ferox walk forward, the moving model stopping at the bridge
support and the other two placing far enough forward to attack. The two
walking ferox fail to do much damage, but the one in the back
successfully plants a charge on the bridge. On the other side, Ferox do
the same, and the two forward Ferox kill two rhok harriers, but the rear
ferox fails to place a charge.
The catapult kills an axer, and a member of the catapult crew sets a
charge on the other bridge pillar. Two down! The legends of Halaak run
to the other side of the board, and the Krea put up force auras.
Orgoth Turn 2
The tyrant unloads on the Oliphaunt, doing more than half its boxes
in damage. The tarask and rhok kill two ferox, and axers on the other
side kill one ferox.
Skorne Turn 3
The oliphaunt backs up to stay out of the axers' charge range. It
then heals itself with its rage tokens, shoots at the tyrant and kills a
rhok. The unstoppable ferox walk away from the axers, and one is placed
close enough to a pillar to try to place a charge, which fails. The
other unit of ferox also tries to place a charge and fails, but does
kill one rhok.
Legends of Halaak jockey for position. Makeda puts up deflection.
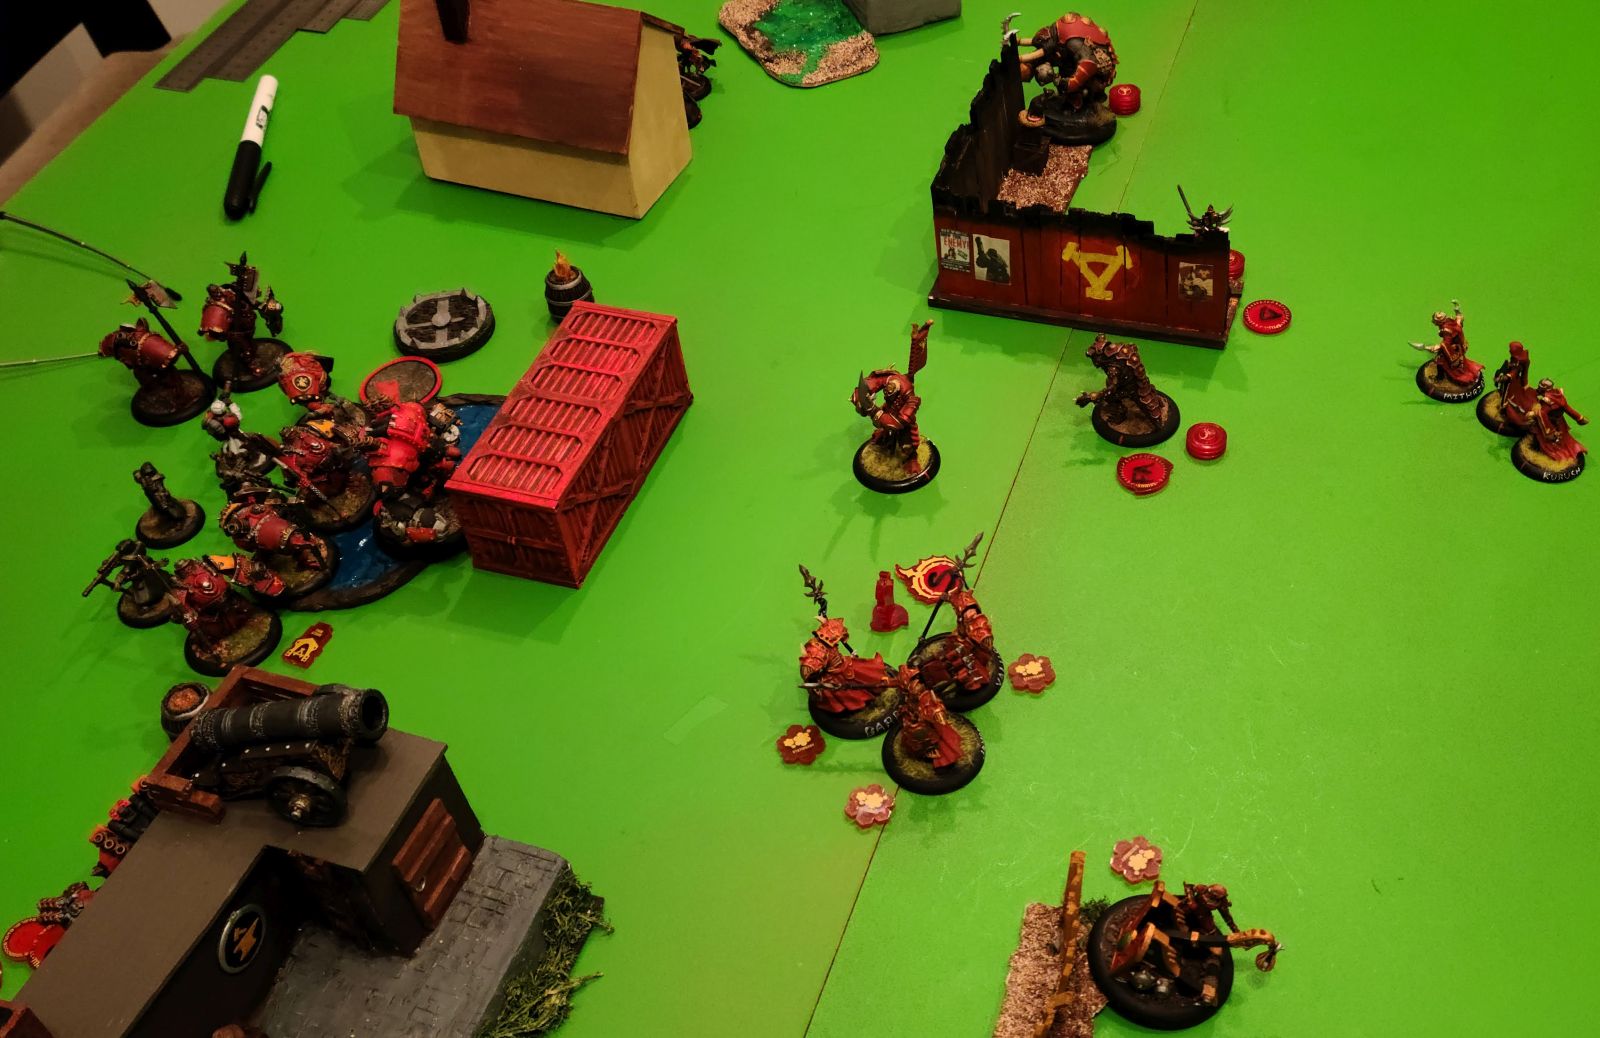
Orgoth Turn 3
The tyrant lets loose with its quad bolter again, pincushioning the
oliphaunt. Shield guard from the Sentry helps. The Ulkor barragers help
out, but it takes the two rhok harriers to finally move in and finish
off the olpihaunt. That still only counts as one!
Ulkor axers and the siege tarask take out the two Ferox who are outside of the range of Makeda's stay death, but she keeps the one on the bridge pillar alive.
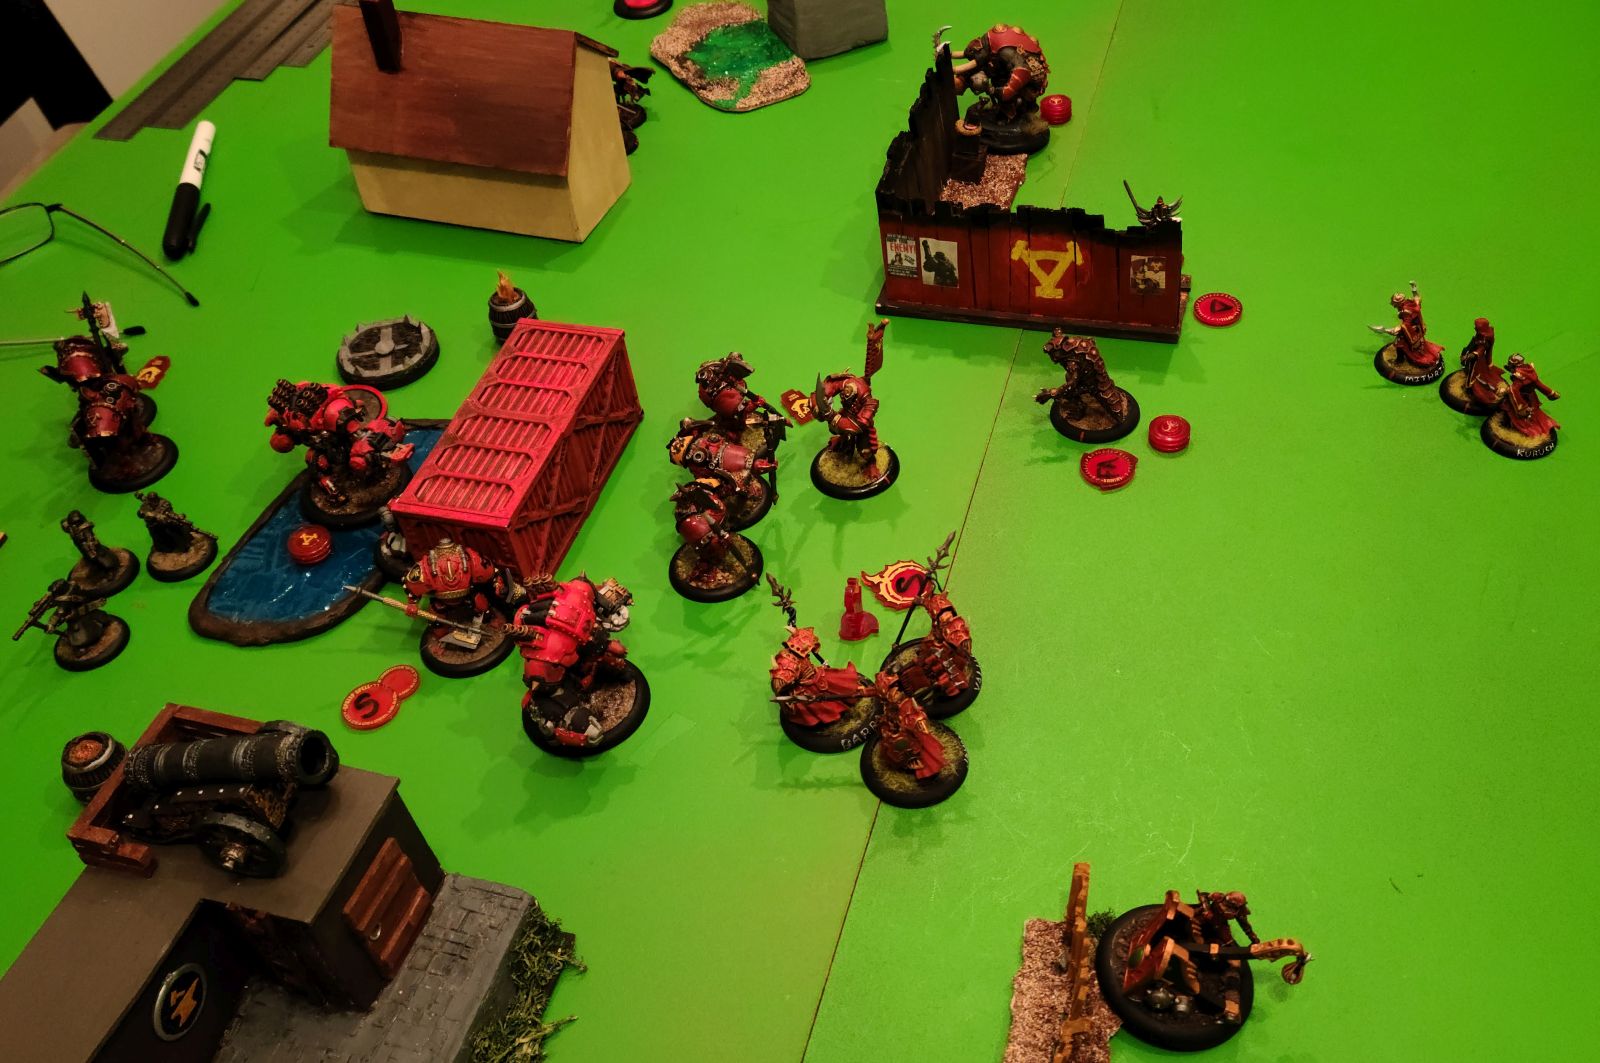
Skorne Turn 4
What I'd really like to do here is have a ferox walk to the far side
of the pillar, then place another four inches away base to base with the
furthest pillar so that I could try to set charges on each. However,
the siege tarask is blocking me from doing that, so instead all three
Ferox charge the tarask, doing decent damage and killing two Rhok.
A beast handler successfully sets a charge on a pillar, leaving only one.
The Sentry positions to block for Makeda, but I fail to use his
animus. The Legends of Halaak position to charge anyone who they want
next turn. Makeda casts Force Aura and Deflection. It's a costly but effective combination: +4 DEF vs ranged.
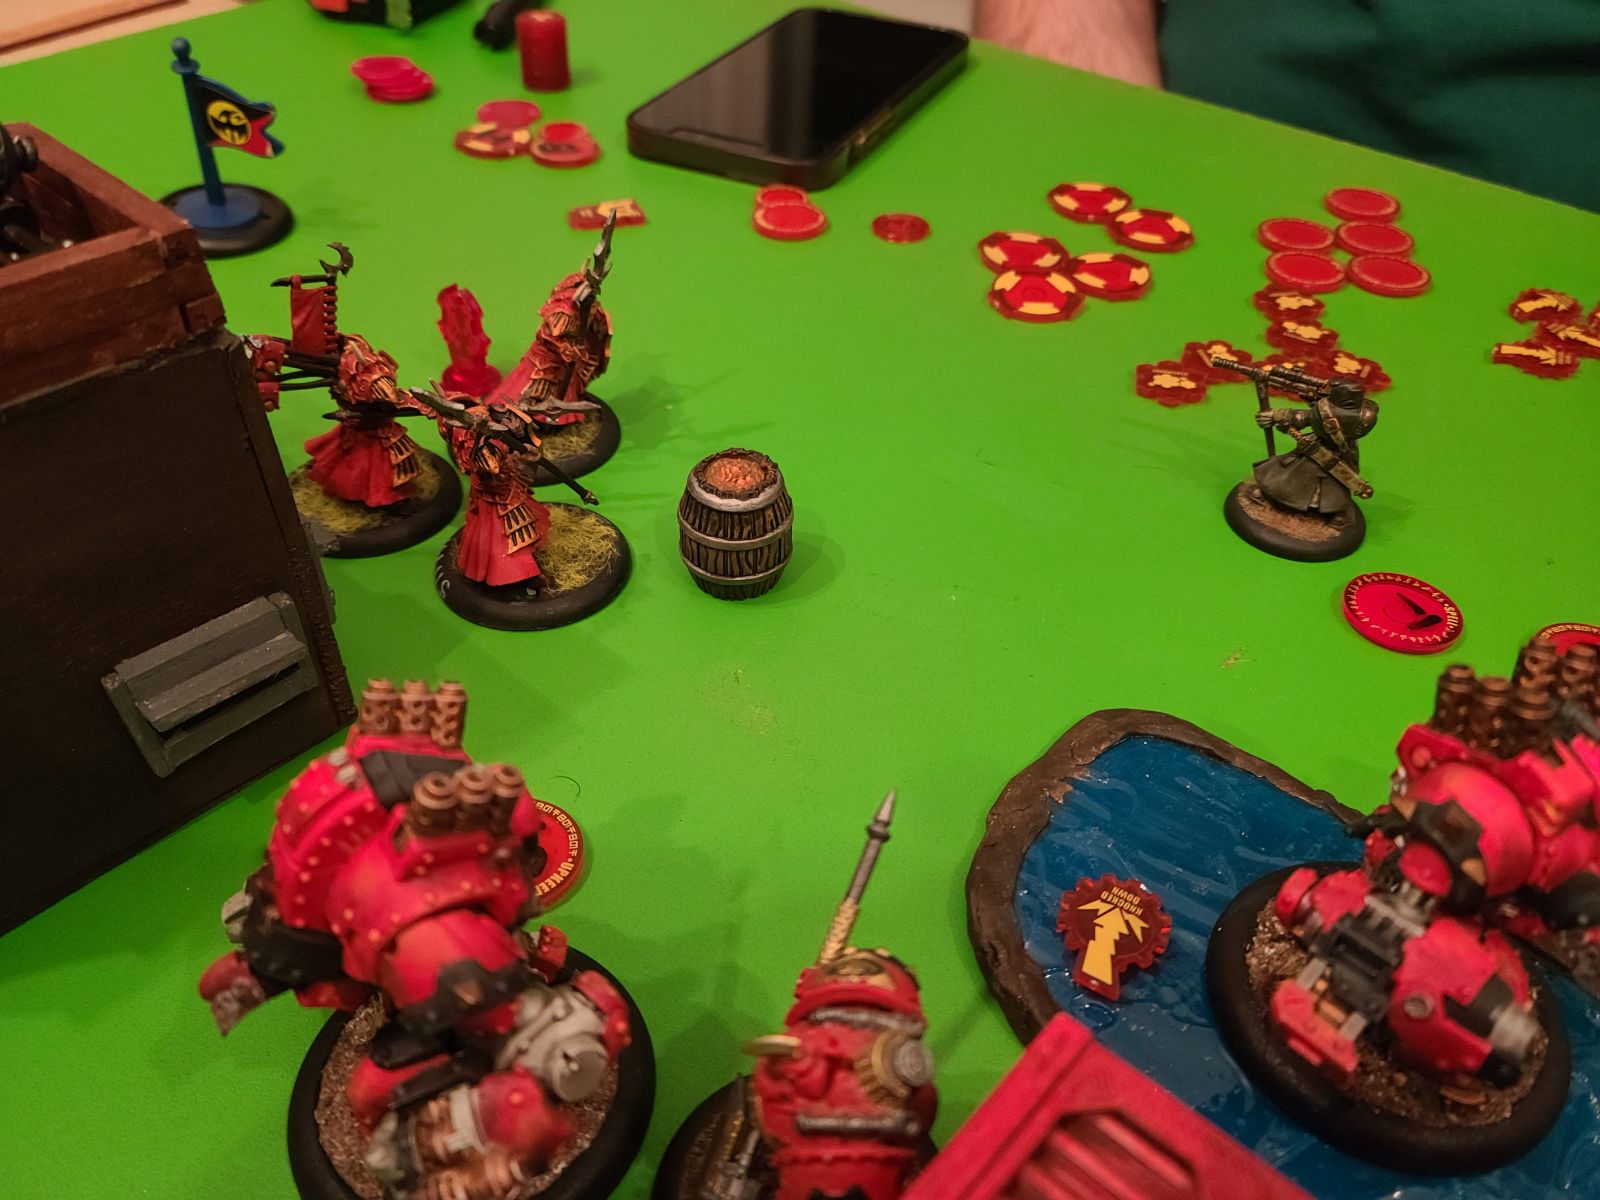
Orgoth Turn 4
Axers charge and kill the sentry. The lone remaining rhok charges and
damages one of the legends of Halaak. The barragers kill the catapult
because the crew wasn't close enough to use Take Up. The one guy left
has nothing but a cannonball, and he's determined to use it, but he's
not yet sure how.
The tarask takes out two of the three ferox, and the jackal moves up.
Skorne Turn 5
The last ferox walks around the tarask and makes a last-ditch attempt to place a charge, but fails.
The krea finishes off the final rhok in order to give the Legends of
Halaak a charge lane. The Legends of Halaak then charge the jackal,
ending with a combo smite slam that knocks it into a wall, so that
charge attack actually uses five dice. Damage wasn't super high though.
Makeda backs away from the pillar that's about to explode, and the
krea gives her force aura. That guy with the cannonball looks around,
trying to decide who to throw it at.
Orgoth Turn 5
The tarask mauls the last ferox, but Makeda won't let it die, using
up every last fury point. The warwitches charge, but can't kill it.
Axers charge the Legends of Halaak, but can't kill them.
Skorne Turn 6
The game ends after Skorne's 6th turn, so this is it. We realize that
even if I set a charge successfully, it won't explode until after the
game ends. Only rolling a 2 will cause it to explode immediately and win
the game for Skorne. I roll a seven or something.
(Orgoth Victory!)
Final Thoughts
- Early on, I did a lot of focusing on the bridge pillars rather than
making attacks. My thinking is that if I could destroy the bridge and
win, then it didn't matter how many models I'd lost. The issue is that
setting charges is totally random and far less than 50%.
- As ever, the tyrant's ranged attacks did so much work. I hate it.
- I should probably have skipped the charge on turn 4 and had the ferox try to set a charge.
- Leaving the catapult crew too far away from the catapult was a mistake on my part.
- The Legends of Halaak spent a lot of time doing nothing.
- I wonder if I could have saved my oliphaunt with the stealth card.
- All things said, this is a really good scenario. Not competitive, but fun.