Battle Report - Cygnar vs Khador
This was the 6th scenario in the Black Tide narrative campaign: Salt the Earth. In this scenario, The defenders are trying to destroy houses before the invaders can loot them. I'd be playing invader here as Cygnar, and my opponent's Khador would be the defender.
The rules for Legacy Storm Legion had just come out, so I was eager to field some of my old models. Unfortunately, the only Nemo I had access to was Nemo2, AKA worst Nemo.
My opponent ran his MK4 Prime jack-heavy list, with a lot of stuff proxying Dire Wolves.
Cygnar
- General Adept Nemo
- Centurion
- Cyclone
- Defender
- Dynamo
- Ironclad
- Ironclad
- Captain Arlan Strangewayes
- Field Mechanics
- Gobber Tinker
Khador

- Kommander Valerii Savaryn
- Medveditsa
- Dire Wolf
- Dire Wolf
- Dire Wolf
- Dire Wolf
- Arcanists
- Arcanists
- Shock Trooper Pikemen
- Shock Trooper Pikemen
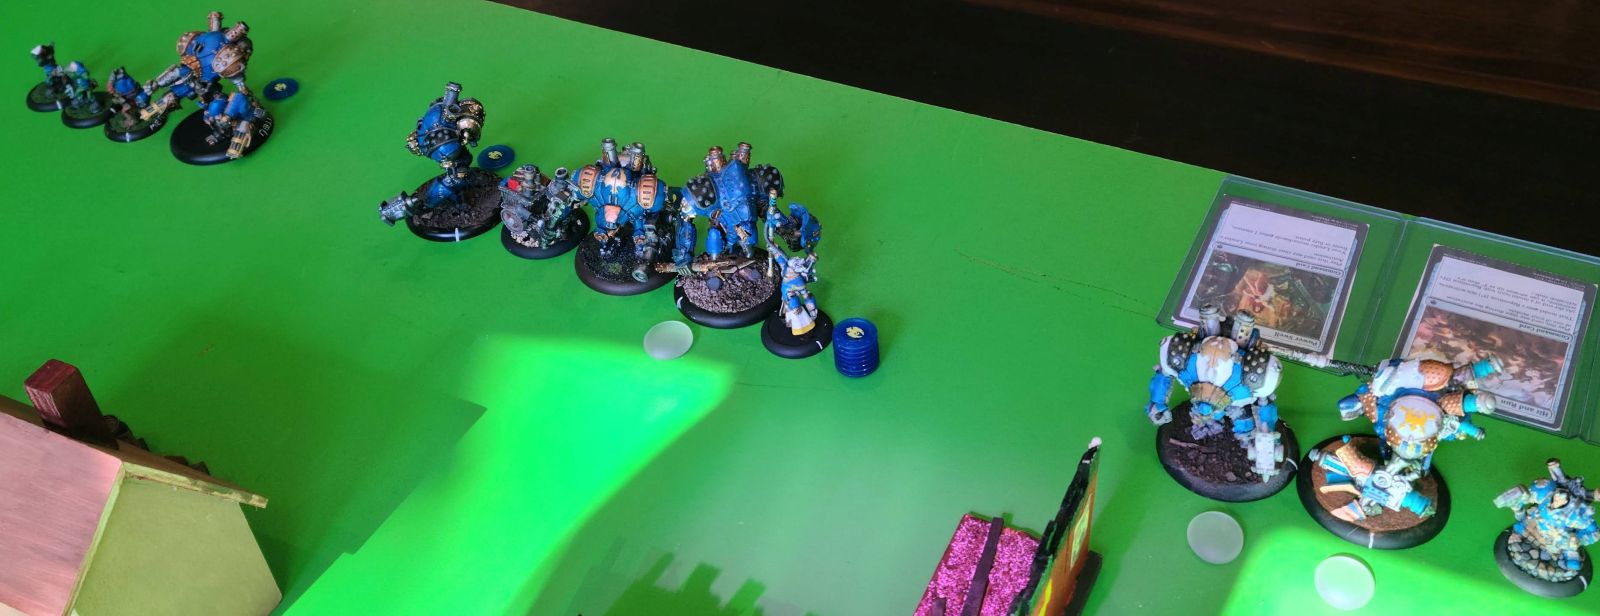
Deployment

I deployed with repair models lined up to loot buildings, and my opponent deployed with his models set to wreck all the buildings.
Cygnar Turn 1

Cygnar runs forward, putting Fail Safe on the centurion, Electrify on an ironclad, and Polarity Shield on the other ironclad.
Khador Turn 1
(no image)
Khador walks forward, as our belief is that you cannot charge buildings. A dire wolf tears down a house, and a second dire wolf and Medveditsa tear down the Crucible Guard petrochemical factory, and a second house. The shock trooper pikemen try to wreck a fourth house, but without a charge they do little.
Cygnar Turn 2

Dynamo shoots out one pikeman, and uses the reposition command card to move back into Nemo's control area. An ironclad moves up, confident in his polarity shield to protect him. The defender puts a few damage on a dire wolf, and the centurion activates his own polarity field. The cyclone puts a few damage on a different dire wolf.
Arlan Strangewayes loots the dijon rave house, and both the gobber tinker and the gobber repair crew move into position to loot next turn.
Khador Turn 2

A great bear advances on the house with gobber tinkers hiding behind it, and unloads with a full stack of focus, leaving the house on five boxes. The pikemen beating on the house on the opposite flank of the battle have even less luck, having done a total of only 6 damage over the two rounds of their assault. The rest of the Khador jacks retreat behind the forest and fog cloud.
Cygnar Turn 3

The gobber tinker loots his house, and the gobber repair crew loots theirs, much to the frustration of the dire wolf who'd nearly destroyed that house. Now Cygnar has looted three buildings and Khador has destroyed three.
Dynamo puts some damage on a direwolf by edging around the forest a bit, and the cyclone rolls well and puts a good amount of damage on the dire wolf who'd failed to destroy his house.
The defender takes a shot at a dire wolf, doing more damage, and the centurion repositions slightly.
Khador Turn 3

The pikemen furiously tear into their house and do one more point of damage. Meanwhile, three happy gobbers emerge from a house with their ill-gotten gains and are greeted by a very angry dire wolf who kills them all.
The rest of Khador runs. No attacks; they just thoughtlessly advance into Cygnar. A rock wall is created to protect some of them a bit.
Cygnar Turn 4
Well, if this isn't Nemo's feat turn, I don't know what is.

After Arlan gives out a focus and the tinker runs back to loot the final house, Nemo slides over, casts a boosted electrical blast which disrupts a Dire Wolf, and a Galvanic Bolt which misses. If it had hit, the tractor field might have saved Nemo's life. Nemo then pulls all the focus off all his jacks (7 focus)! and feats, maxxing out all of their focus. Then he casts energizer and an inconsequential electrical blast.
The Cyclone gets five shots and blows up the damaged dire wolf who'd just slaughtered all those gobbers. The ironclad with electrify kills a dire wolf and ends up with lots of focus left over that he can't use. The other ironclad finds itself with no targets and runs around the forest towards Savaryn. The defender had wanted to get into melee, but the rock wall prevents him, so he joins Dynamo in just shooting. The centurion lays into Medveditsa and has trouble doing much to the armor 23 monster.
Khador Turn 4

Khador is down to three heavies, and Cygnar still has six. So it's assassination run time.
A dire wolf walks up and beats on the ironclad until it's nearly dead. Three pikemen move up and finish it off, leaving just barely enough room for Medveditsa to sneak through and murder Nemo. Two initials hit and allow for the smash and grab headbutt. The POW 14 headbutt kills Nemo. Medveditsa used no focus.
(Khador Victory!)
Final Thoughts
- If I hadn't used that reposition card on Dynamo early on, I could have used it to save Nemo.
- Better yet, if Nemo had used his Energizer on turn four to move himself two inches, he could have lived. Too often, I forget that a caster is part of his own battlegroup.
- I really was doing very well right up until the moment Nemo got assassinated.


